Skip to content
English
  • There are no suggestions because the search field is empty.

Creating and Managing Vendor Discounts

Syncrostore provides vendors with several ways to create discounts for categories of items, or even place their entire booth/store on sale.

How do discounts work in Syncrostore?

Discounts in Syncrostore act as a simple flat percentage off a select set of items. These sets can be categories, subcategories, or even your entire booth!

Syncrostore allows you to specify various parameters, such as a start and end date to plan discounts ahead of time. You can manage discounts at any time, activating and deactivating them as you see fit.

Note: If you are looking for Item Specific Deals (such as a "Buy one get one" deal), please refer to the Creating Item Specific Deals article found here. We refer to this as a "deal" rather than a discount, and they are two separate systems.

Creating a Vendor Discount

Creating a discount as a vendor is a straightforward process.

  1. Navigate to the Vendor Inventory page, found under Vendor Tools on the left side of the screen

  2. Once on the Vendor Inventory page, locate the Discount Settings button under Inventory Tools on the right side of the screen

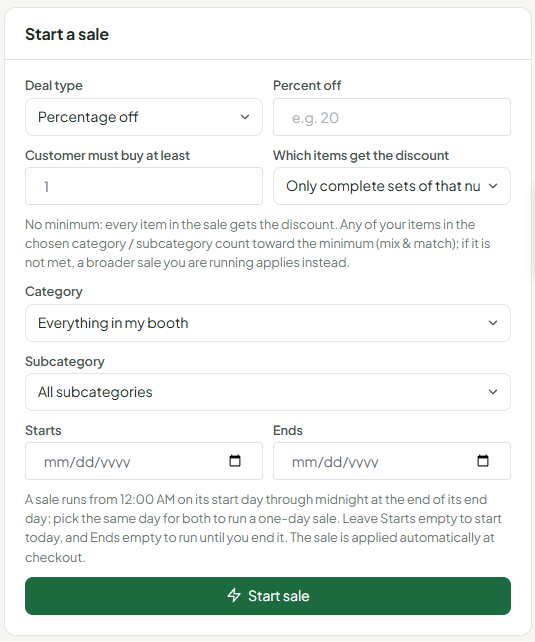
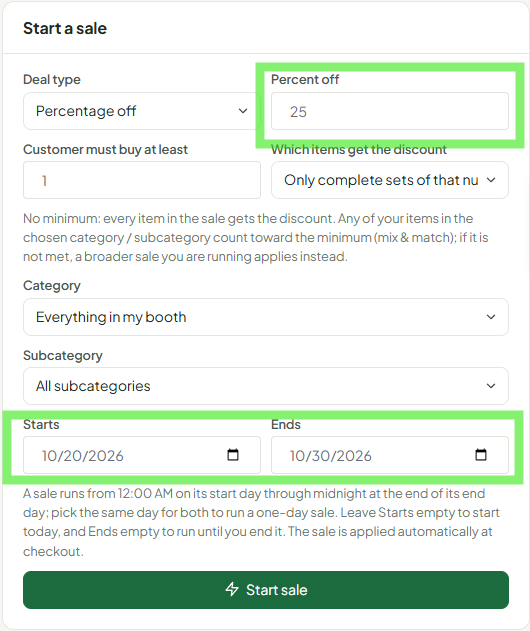
  3. Selecting this button will open the discount popup menu where several options will present themselves:
    1. Discount Percentage: This is the discount amount (percentage) you would like to apply to your items.
    2. Start Date (Optional): If desired, you can specify a start date for the discount to begin on. The discount will not take effect until the start date.
      1. If no start date is specified, the discount will begin after you saveand will then be immediately applied at any transaction containing the discounted items. If you do not want to begin the discount right away, we recommend setting a start date.
      2. Start Date refers to the beginning of the specified day, so the discount will begin at 12:00 AM of the start day.
    3. End Date (Optional): If desired, you can specify an end date for the discount to end on. The discount will not remain active after the end date.
      1. If no end date is specified, the discount will never end. We heavily recommend setting an end date, as this prevents setting and forgetting about a discount.
      2. End Date refers to the end of the specified day, so the discount will be in effect until 11:59 PM of the end day.
    4. Apply to Category/Subcategory: These drop-downs allow you to select what inventory category or subcategory to apply your discount to.
      1. This can be used to specify holiday discounts, back to school discounts, and more. Just place all the items you would like into a category, and then set the discount to apply to that category.
      2. Be cautious: If no category or subcategory is given, the discount will apply to ALL of your inventory items. This can be useful, but it can also be a surprise if not intended. Be sure to check the category drop-downs carefully before saving the discount.
    5. Active Discounts: All of your currently active discounts will show here, along with all related information (ID, discount percentage, category, start/end date, etc).
    6. Discount History: Discount history shows the total sales during your active discounts, so you can see how well those items are performing when placed on sale.


  4. Once you are satisfied with your discount percentage, date range, and category/subcategory selection,  you can select the green save icon in the top right of the menu. This will save the discount, and you can view it again by opening the Discount Settings menu under Active Discount.

Deleting an Active Discount

  1. In order to remove past discounts from your account, navigate to the Discount Settings menu found in the vendor inventory screen. If you need help finding this, follow steps 1 and 2 from the section above!


  2. Once there you will see all of your Active Discounts under the Active Discounts section.

  3. The Delete button found on the left side of each discount row allows you to remove that discount from your booth.

A few notes:

  • Discounts with a specified end date are not removed from your active discounts. Instead, they will simply not be applied at the register when a discounted item is entered. This is so you have a history of what discounts ran and when.
  • Deleting a discount completely removes all history of its existence, so be careful!
  • Discounts are automatically applied at the register once they enter their specified active range. There is no need for the cashier, or you as a vendor to interact with the sale in any way once the discount is setup.